Although you’ll typically manage roles and role assignments in Microsoft Entra, you can also manage these roles directly in Intune. Or, more accurately, you can manage role assignments in Intune. To review or change role assignments using the Microsoft Intune admin center, use the following procedure:
- Select the appropriate user account.
- On the user details page, select Assigned roles in the navigation pane.
- Review or update the assigned roles as shown in Figure 2-9.
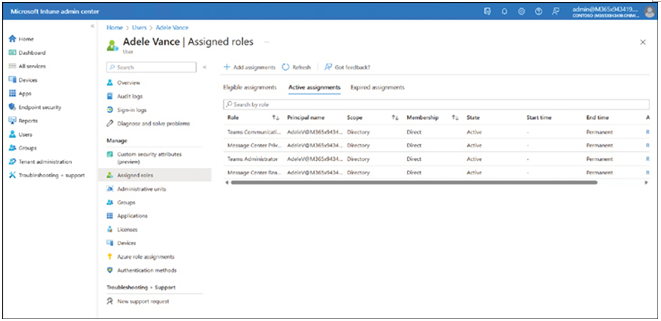
FIGURE 2-9 Updating role assignments in Intune
Register devices in and join devices to Azure AD
Microsoft designed Windows 11 to be remotely managed using cloud-based tools, such as Microsoft Intune. As more organizations migrate to the cloud, you must understand how to configure your users’ devices to register them in Azure AD.
In this section, you’ll learn how to register a device so a workplace or school with cloud-based services can manage it. You’ll learn how to enable device registration and join devices to Azure AD.
Understand device management
When joining devices to an on-premises domain environment, the types of devices you can join to the domain are quite restrictive; devices, for example, must be running a supported operating system. This means that any users that have devices running Windows 11 Home editions cannot join the company’s on-premises domain.
However, Azure AD is less restrictive in this respect; you can add to Azure AD almost any tablet, laptop, smartphone, and desktop computer running various operating systems. When you enable users to add their devices to Azure AD, you will manage their enrolled devices using an MDM solution, such as Microsoft Intune, which enables you to manage and provision your users’ devices.
You can connect your devices to Azure AD in one of two ways. These are:
- Registering a device to Azure AD
- Joining a device to Azure AD
To understand these options, it’s worth considering an on-premises scenario. Suppose you want to connect a computer to a workplace file server. Let’s assume your computer is configured in a workgroup—a standalone configuration. You’ll perform the following procedure:
- Sign in to your computer using a local user account.
- Connect your computer to the corporate network infrastructure.
- Open File Explorer and map a network drive to a target file server shared folder.
- Provide credentials to authenticate with the server. These credentials are in AD DS and stored in a domain controller.
- Access your mailbox in your organization’s Exchange Server by creating an Outlook profile that enables connectivity to the Exchange environment, including the credentials required to access the mailbox.
The process is decentralized and requires manual configuration to access resources in your corporate environment. Contrast that to a domain-joined workstation:
- You sign in to the domain-joined workstation using a domain account.
- You map a network drive to a file server. The server uses your existing credentials to authenticate you.
- You open Outlook. Your Exchange Server mailbox server uses your existing credentials to authenticate you.
Using domain-joined devices has enabled SSO, ensuring all apps can be accessed using the signed-in credentials. This is very convenient for the user.
In some ways, you can consider an Azure AD–registered Windows 11 computer to be functionally equivalent to an on-premises, workgroup-configured computer. The user signs in using a local account and then uses a work or school account to access cloud apps and services, having to provide the credentials each time they connect to a new app or service.
Similarly, an Azure AD-joined device behaves much like a computer joined to an AD DS domain. The user signs in with their work or school account, and then all apps and services use these credentials thereafter, providing a better user experience. Let’s examine these two options more closely.